
Hi Everyone, Deonna here with my project of the week. I can't believe that i forgot to post this on Monday. I'm so sorry. I'm going to show you how to shadow ink. I kinda think of it as reverse coloring.

Supplies
Vellum- Cut to 4 1/4" x 11"-Folded in half for a 4 1/4" x 5 1/2" card
White Cardstock- Cut the same as the vellum above
Stamps-Repeat Impressions-Cornucopia, Pumpkin, Scarecrow and Sunflower
Staz-on ink in black
Sponge dauber-mine is Tim Holtz
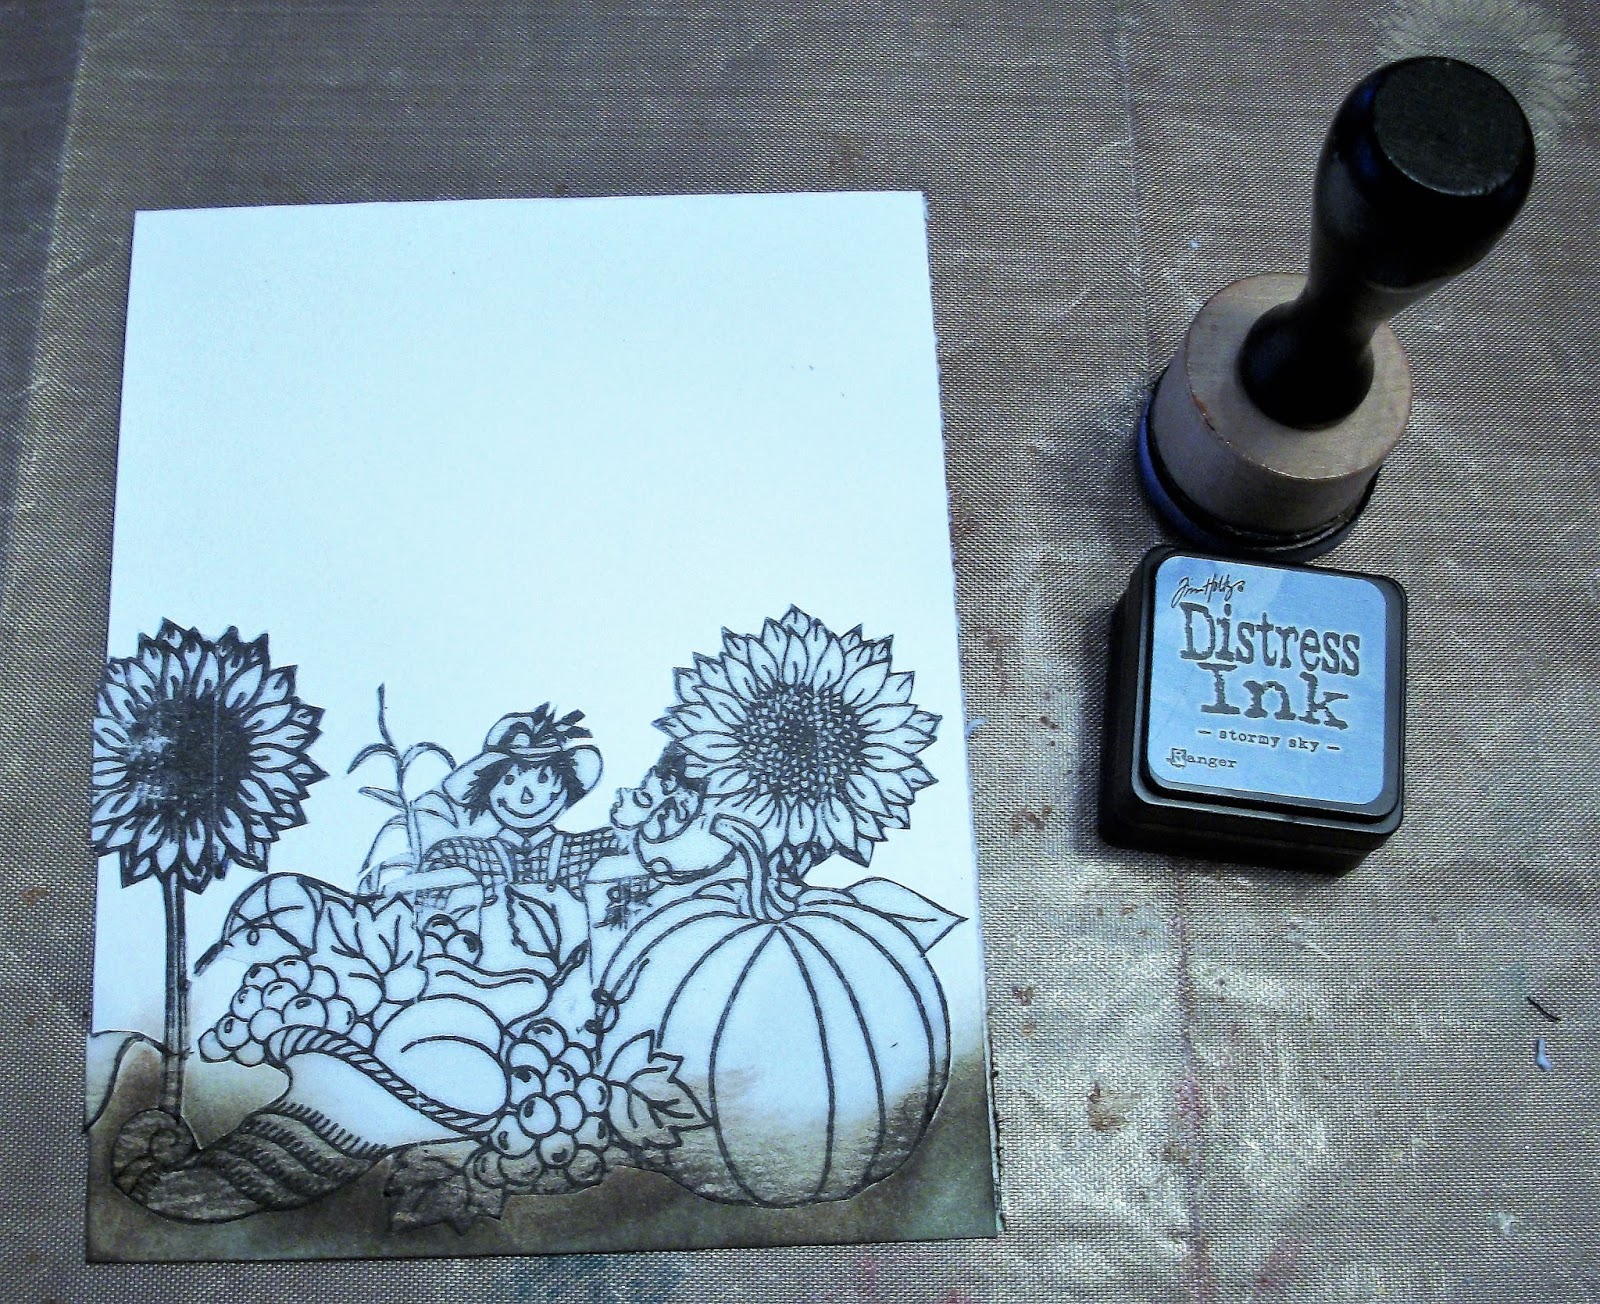
Ink pads-Distress ink in frayed Burlap, Gathered Twigs, Cloudy sky, Salty ocean
1. Take your vellum and stamp your images all over the desired area. Stamp the cornucopia and then stamp a mask and cut it out, Mask cornucopia and then stamp Pumpkin along with a mask and cut it out, Repeat with scarecrow and sunflowers.


2. Photo copy the vellum image above onto a piece of printer paper with masking paper on top. Fussy cut the image out with scissors.


3. After cutting out the image place behind the vellum image aligned directly under the vellum image. Place the mask onto the white cardstock base. It should just stick to the cardstock underneath.


4. Taking your sponge dauber and Ranger ink, sponge the ink around the mask on the white cardstock. I used blue for the sky and green for the bottom. Remove the mask on the white cardstock.


5. Cut down your vellum to the card size and Attach the vellum image directly over the cardstock using double sided tape or Vellum tape at the top and bottom to hold the vellum to the card.


6. Add a sentiment to the Vellum using Staz on ink, if desired and enjoy. You are now finished.


thank you for following along!


6. Add a sentiment to the Vellum using Staz on ink, if desired and enjoy. You are now finished.


thank you for following along!
1 comment:
This was a great tutorial! You made it so easy to do! Thanks for the inspiration!
Post a Comment