Hi Everyone, Deonna Here, bringing you my project of the week for
The House that Stamps Built. One of my "Rock Star" sisters , Kathy, encouraged me to show how to make a Window Slider Card, so here goes.
Window Slider Card
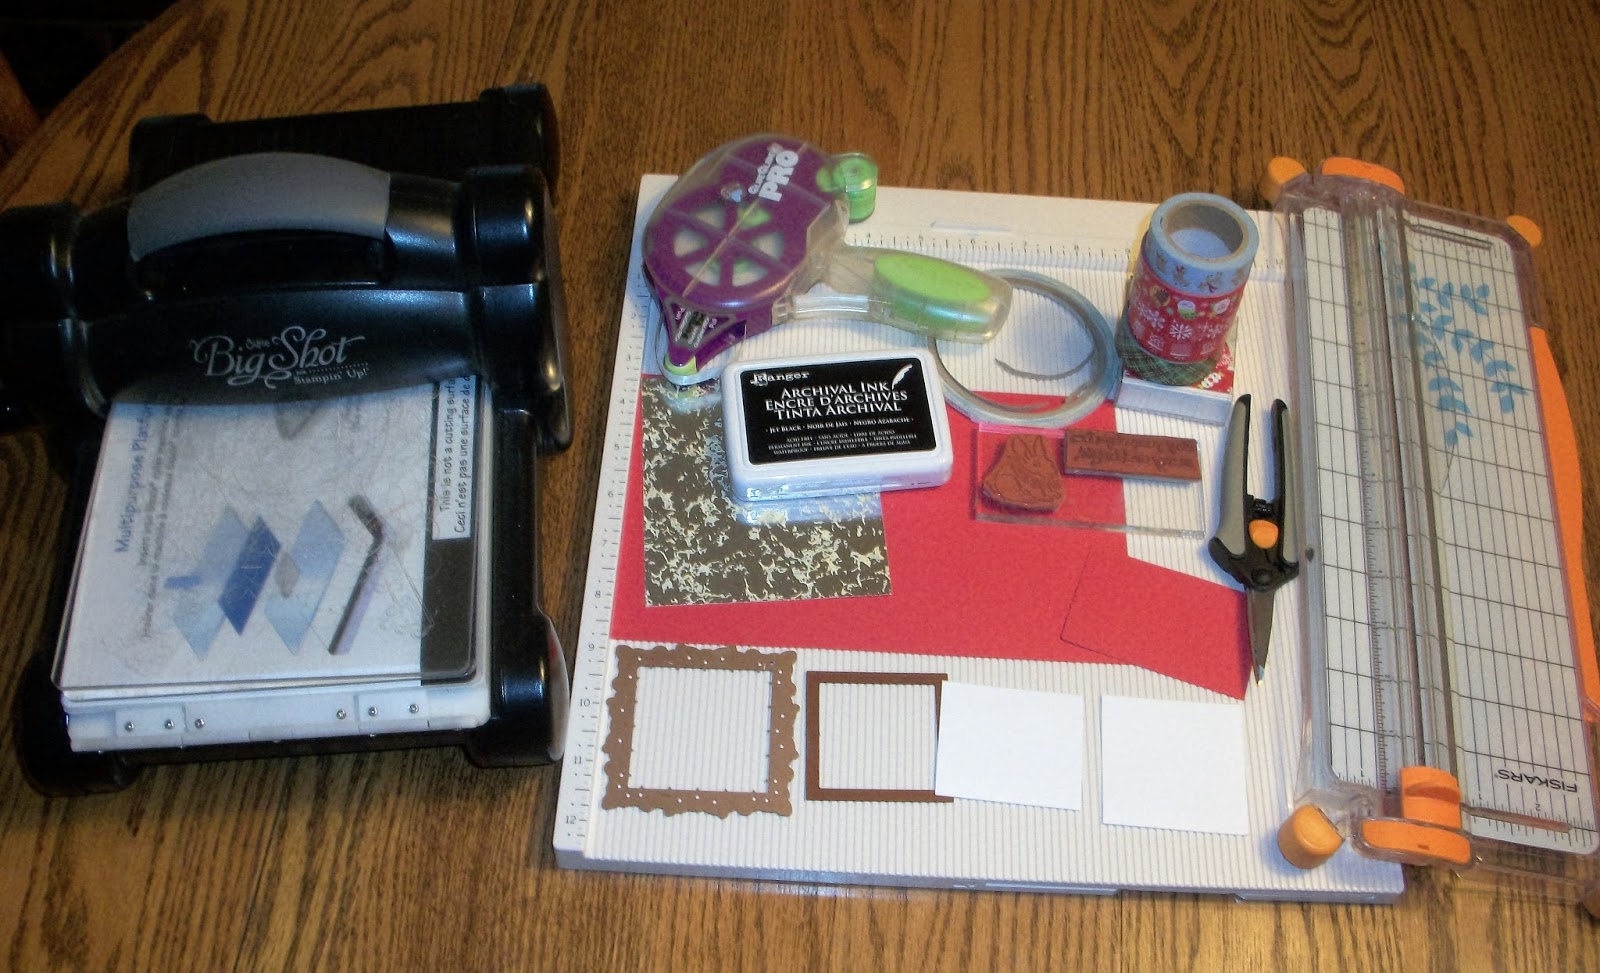
Supplies:
3" Decorative Square Die- Mine is Spellbinders
2" square die or punch
Red and White Cardstock Cut and scored as follows:
5 1/2" x 8 1/2" Base card-(Mine is Red) Score at 4 1/4" and fold in half
Base Mat- 5 1/4" x 4" Silver Cardstock
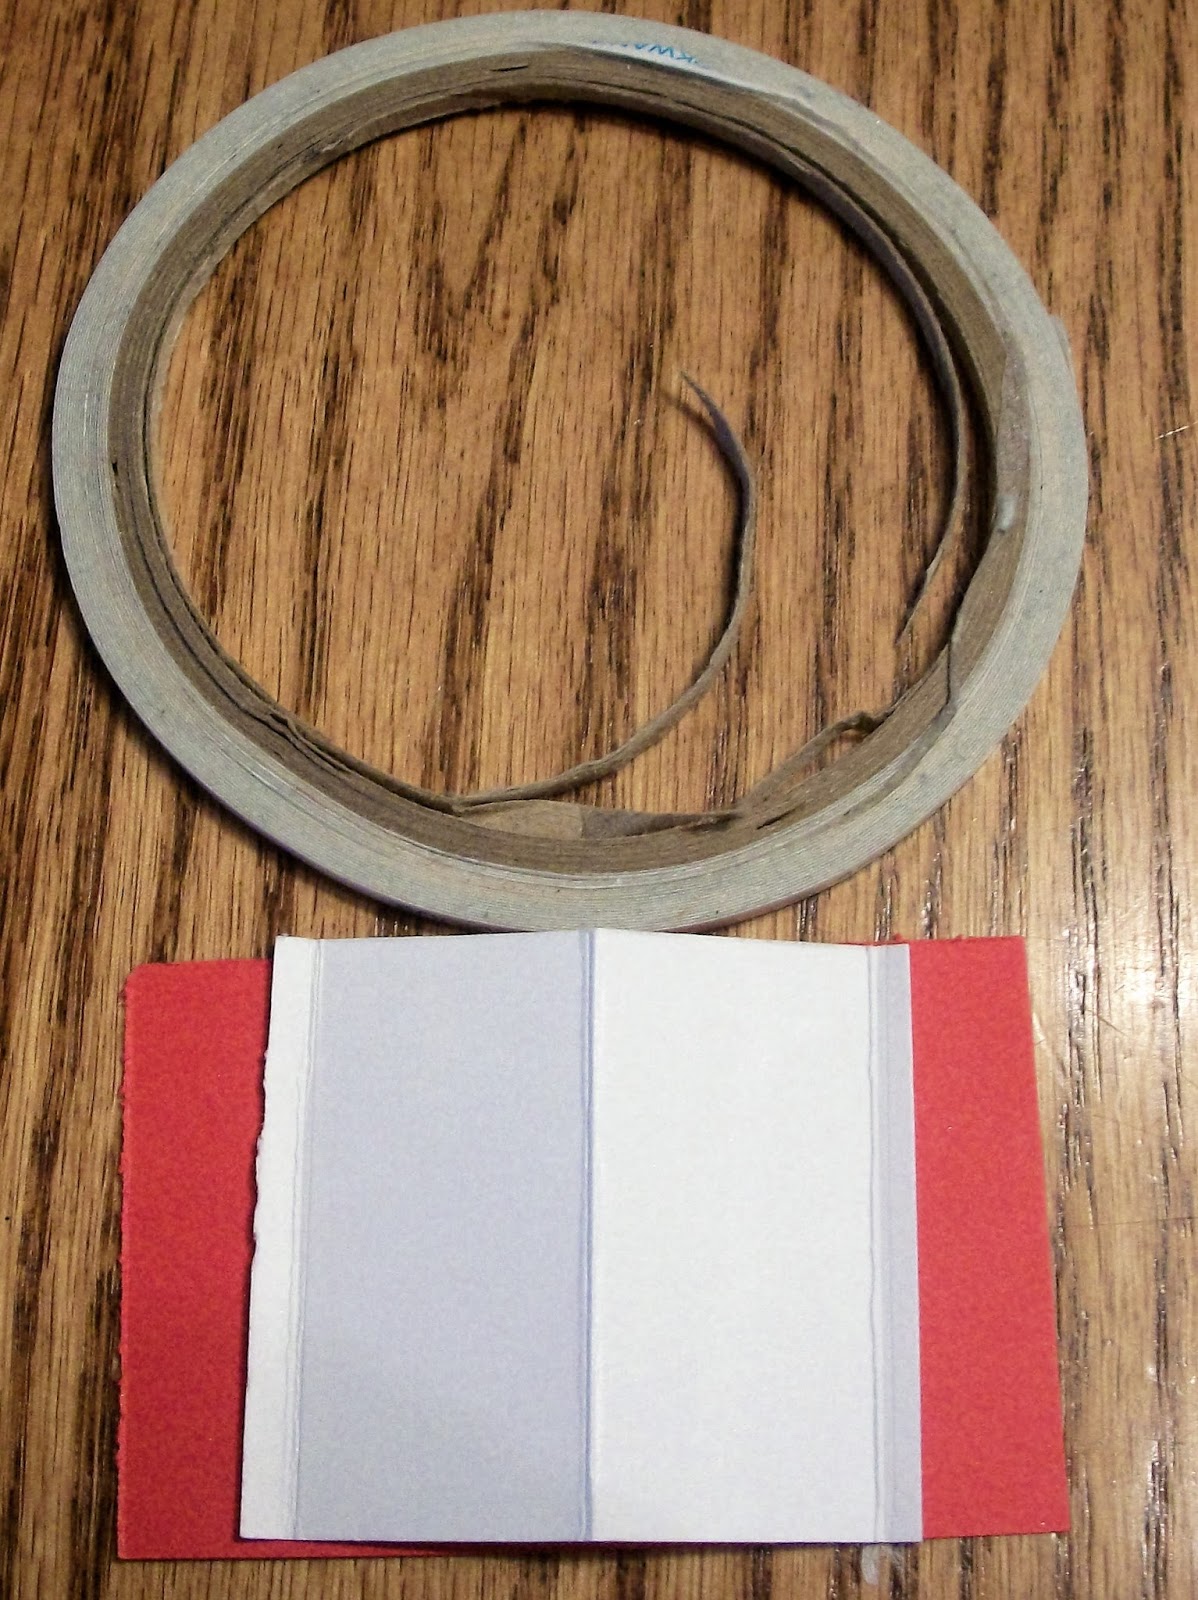
1 Piece of White Cardstock cut to 2 1/4" x 2"- Score the 2 1/4" side at 1/8", 1-1/8" and 2-1/8"
2" x 2" Square of White cardstock to stamp image on
1 pc. 2" x 3" piece of Red Cardstock
Score Board or tool
1/8" Scor-tape
Sizzix Big Shot or other die cut machine
Washi Tape- Crafters Square is mine
Black Archival ink- Ranger
1. Cut the cardstock to the measurements above and score your lines if needed. Die Cut your Decorative framed square and the center with your 2" x 2" Spellbinders die. Shown here.
2. Stamp your Holly Bunny stamp onto your White 2" x 2" square using Black Archival ink. Set aside or Color.
3. Fold your base Card in half on the score line and Glue your Silver base mat to the front of your card base. Make sure that you center it to leave a 1/8" red border around the card.
4. Lay your Decorative Square frame where desired on your silver base mat. DO NOT GLUE DOWN! Put glue on the backside of your 2" x 2" Stamped image and center inside the Red Frame. You may then remove the red frame from your card and put together your Window as follows
5. Fold your piece of White Cardstock that Measures 2-1/4"x 2" on your previously scored lines. The Center line should be Mountain folded and then the 1/8" sections should be valley folded. See
6. Still using your 2-1/4" x 2" piece, apply 1/8" Scor tape to the right hand front 1/8" scored section. Flip over and place scor-tape on the left 1/8" scored section.
7. Remove tape backing of the front Right piece, attach underneath of the inside of the Red Decorative frame (Right side)Remove the paper Backing of your scor-tape on the left side, back section and attach to the edge of your Red 2" x 3" section. (Left Side) You should now have your completed Slider piece ready to adhere around your White 2"x 2" Stamped Square.
8. Now starting at the bottom edge of your white 2" x 2" square attach strips of washi tape. I used 4 pieces of washi tape slightly overlapped with a notch cut from the bottom.
9. Attach your slider piece over your stamped image by adding 1/8" Scor-tape to the top and the bottom of your Red Decorative square piece on the back side and then lining up over your White Stamped Piece and adhering with the tape.
10. Stamp your sentiment if desired and your card is complete.
Ho, Ho Ho!!! Merry Christmas!
Challenges
I hope that you were inspired to give this tutorial a try.


Please U.S. Residents only for my Blog Candy