Showing posts with label POTW. Show all posts

Monday, December 11, 2017

Project of the week for Repeat Impressions Stamps

Hi everyone, Deonna here, I'd like to share a 
Quilted, embossed Christmas Card with all of you today. 

This will be my last Project of the week with Repeat Impressions for awhile. After much deliberation, I've chosen to step down off the design team.  I just think that i need a break for awhile. That doesn't mean that i may never be back.  I may be begging to come back. lol!
Anyway, let's just get started with my tutorial. 
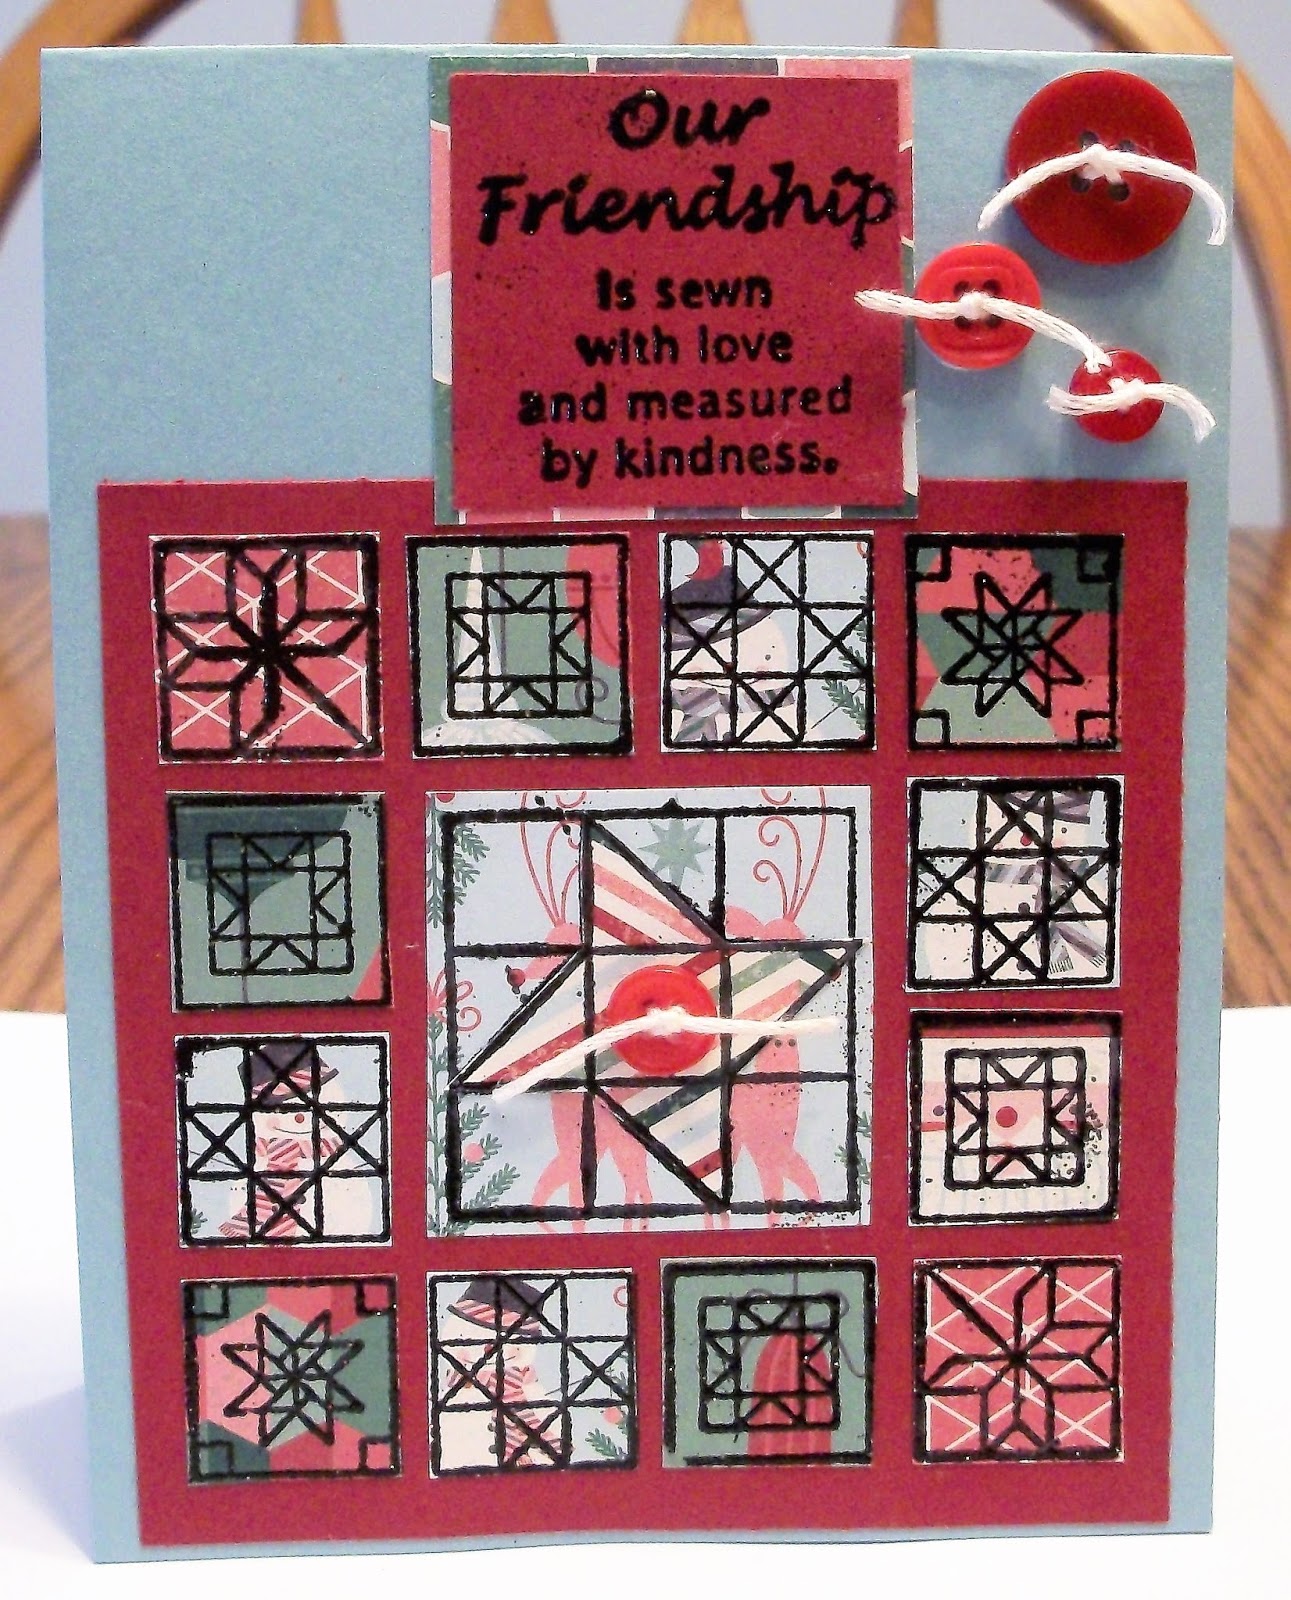


Supplies

RI Stamps- 9402U Quilt frame
9403P Quilt Background- I cut all of mine apart.
9404H Our Friendship, 9408H Friendship quilt square.
Cardstock base- baja Blue Cut at 4 1/4" x 11"
Red Cardstock at least 4 1/4" x 5" and a scrap for the sentiment
Embossing stamp pad
Black detail embossing powder-Recollections
Heat Tool
Paper trimmer
Black ink- Ranger Archival
"Let it Snow" Patterened paper pieces- 5 to 6 different prints.
Scissors
Powder tray or piece of Scrap paper
Glue 


1.  Gather the above supplies and stamp using Stamp # 9402U -Quilt Frame onto the Red cardstock using the black ink. Trim the Square out leaving 1/4" border around the image. Set aside.


2.  Gather various pieces of Coordinating patterned paper that you want to use. (This would be a good time to use your scraps) 

Using your embossing ink, powder tray and black embossing powder, stamp each of the individual stamps from the quilt background 9403P that were used on the Quilt frame 9402U (above is step 1) 
With the embossing ink - Stamp each of the corners onto your chosen patterned paper. Stamp twice with one scrap and twice with another patterned paper. You will need to stamp 4  of each of the same design for the last 2. Add embossing powder and heat Set. 


3.  Once each square is embossed, cut each of them out using your scissors and set aside. 


4.  Repeat step 2 and 3 with the square stamp 9408H  Friendship quilt square. Stamp the image with Embossing ink onto 2 different patterned papers. Cut out the entire stamped image of the first and just the star center of the second. set aside. 


5.  Stamp and emboss the sentiment 9404H- Our Friendship onto a piece of Red Cardstock. Trim into a square.  Trim a piece of Patterned paper slightly larger then the sentiment. 
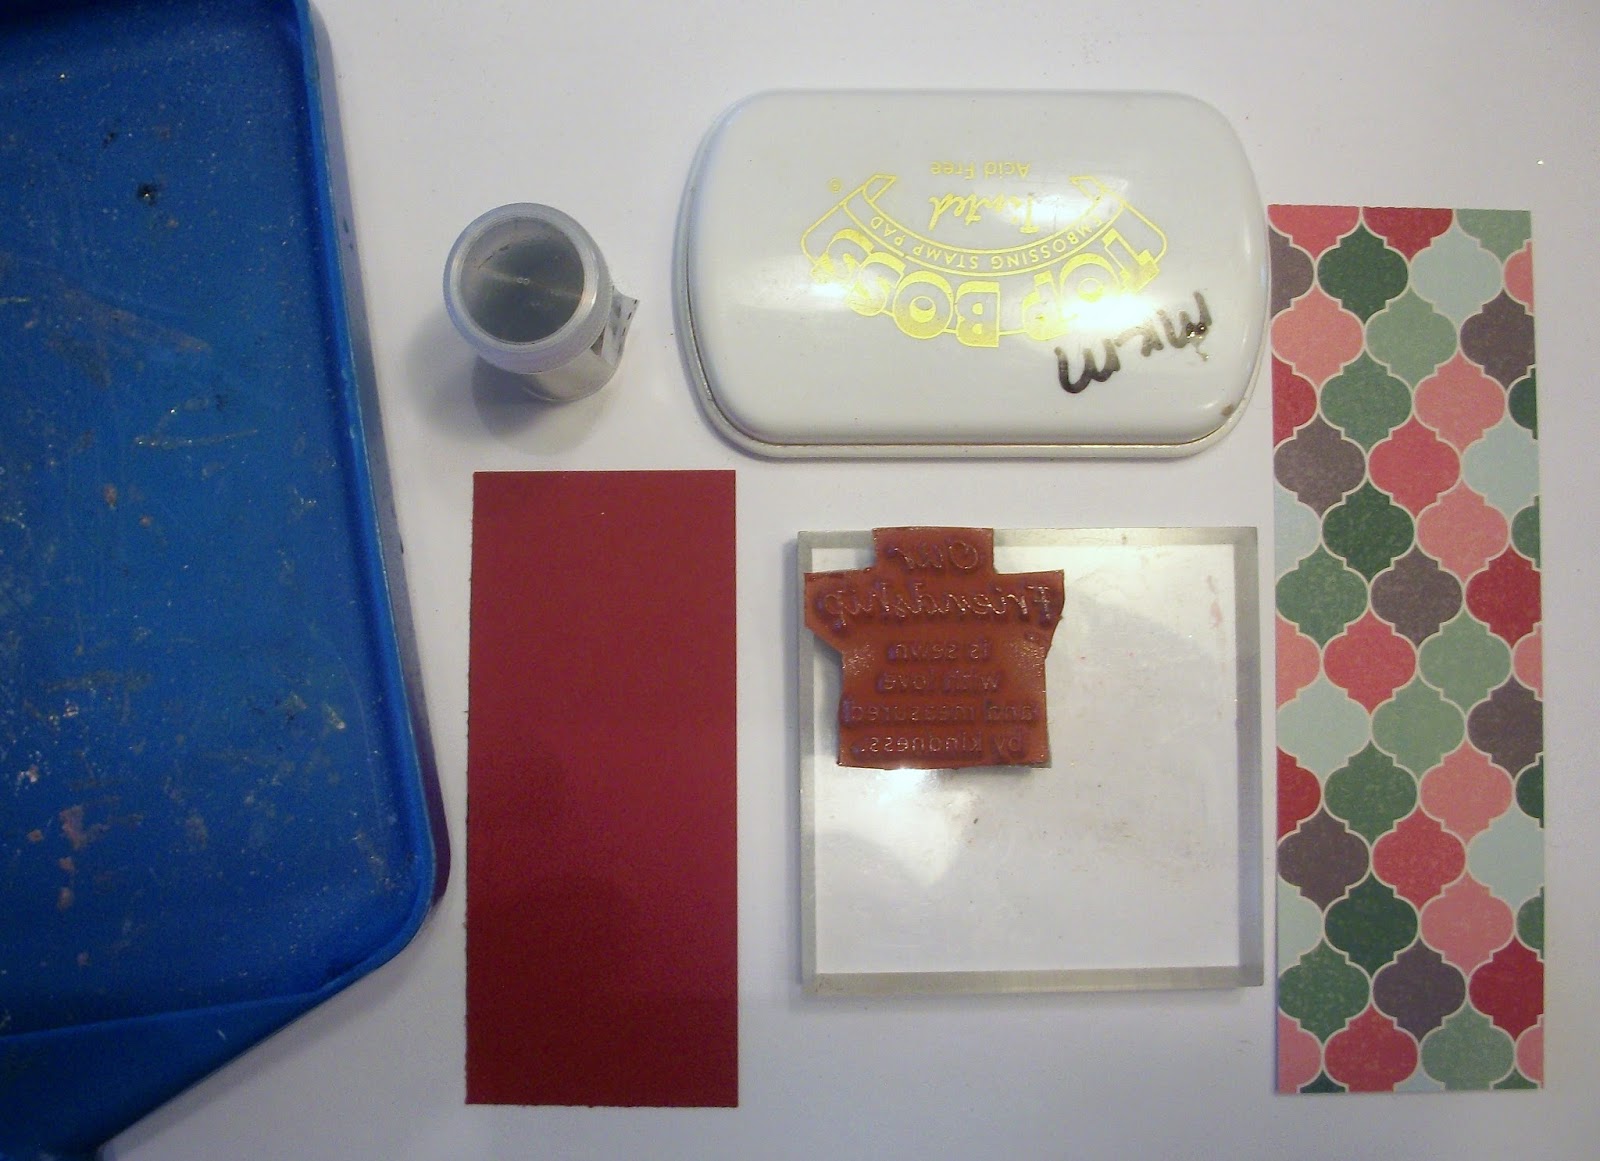


6.  Lay each piece onto the stamped quilted square on the red cardstock from step 1. Make sure that your paper pattern is going the direction that you desire and glue each one down over the top of the base stamped image. Glue the star onto the center square and glue into the center of the quilted square. Glue the entire quilted square onto your blue card base. Glue down the sentiment and embellish as desired. 


 I chose to only add some buttons that i had in my stash. 
Finished Card


Have a wonderful day!

Challenges that i'd like to join

Glitter n Sparkle #268 ATG
Scrap and Craft #10 ATG Christmas
DL Art December  ATG 1 ea. day
The Merry Christmas #46 ATG Christmas)
A Perfect time to Craft ATG December (2/3)
Christmas Cards all year Round December ATG (2/5)
Crafty Hazelnut's Christmas Extra Dec. Christmas
Jo's Scrap Shack #218 ATG (1/3)
Winter wonderland ATG Christmas (1/3)
heARTful Stamping Christmas plus stamping (1/2)

Have a great day and i hope that i've inspired you to create.

Wednesday, October 18, 2017

Project of the Week for Repeat Impressions Stamps- Shadow Inking

Hi Everyone, Deonna here with my project of the week. I can't believe that i forgot to post this on Monday. I'm so sorry.  I'm going to show you how to shadow ink. I kinda think of it as reverse coloring. 


Supplies
Vellum- Cut to 4 1/4" x 11"-Folded in half for a 4 1/4" x 5 1/2" card
White Cardstock- Cut the same as the vellum above
Stamps-Repeat Impressions-Cornucopia, Pumpkin, Scarecrow and Sunflower
Staz-on ink in black
Sponge dauber-mine is Tim Holtz
Ink pads-Distress ink in frayed Burlap, Gathered Twigs, Cloudy sky, Salty ocean


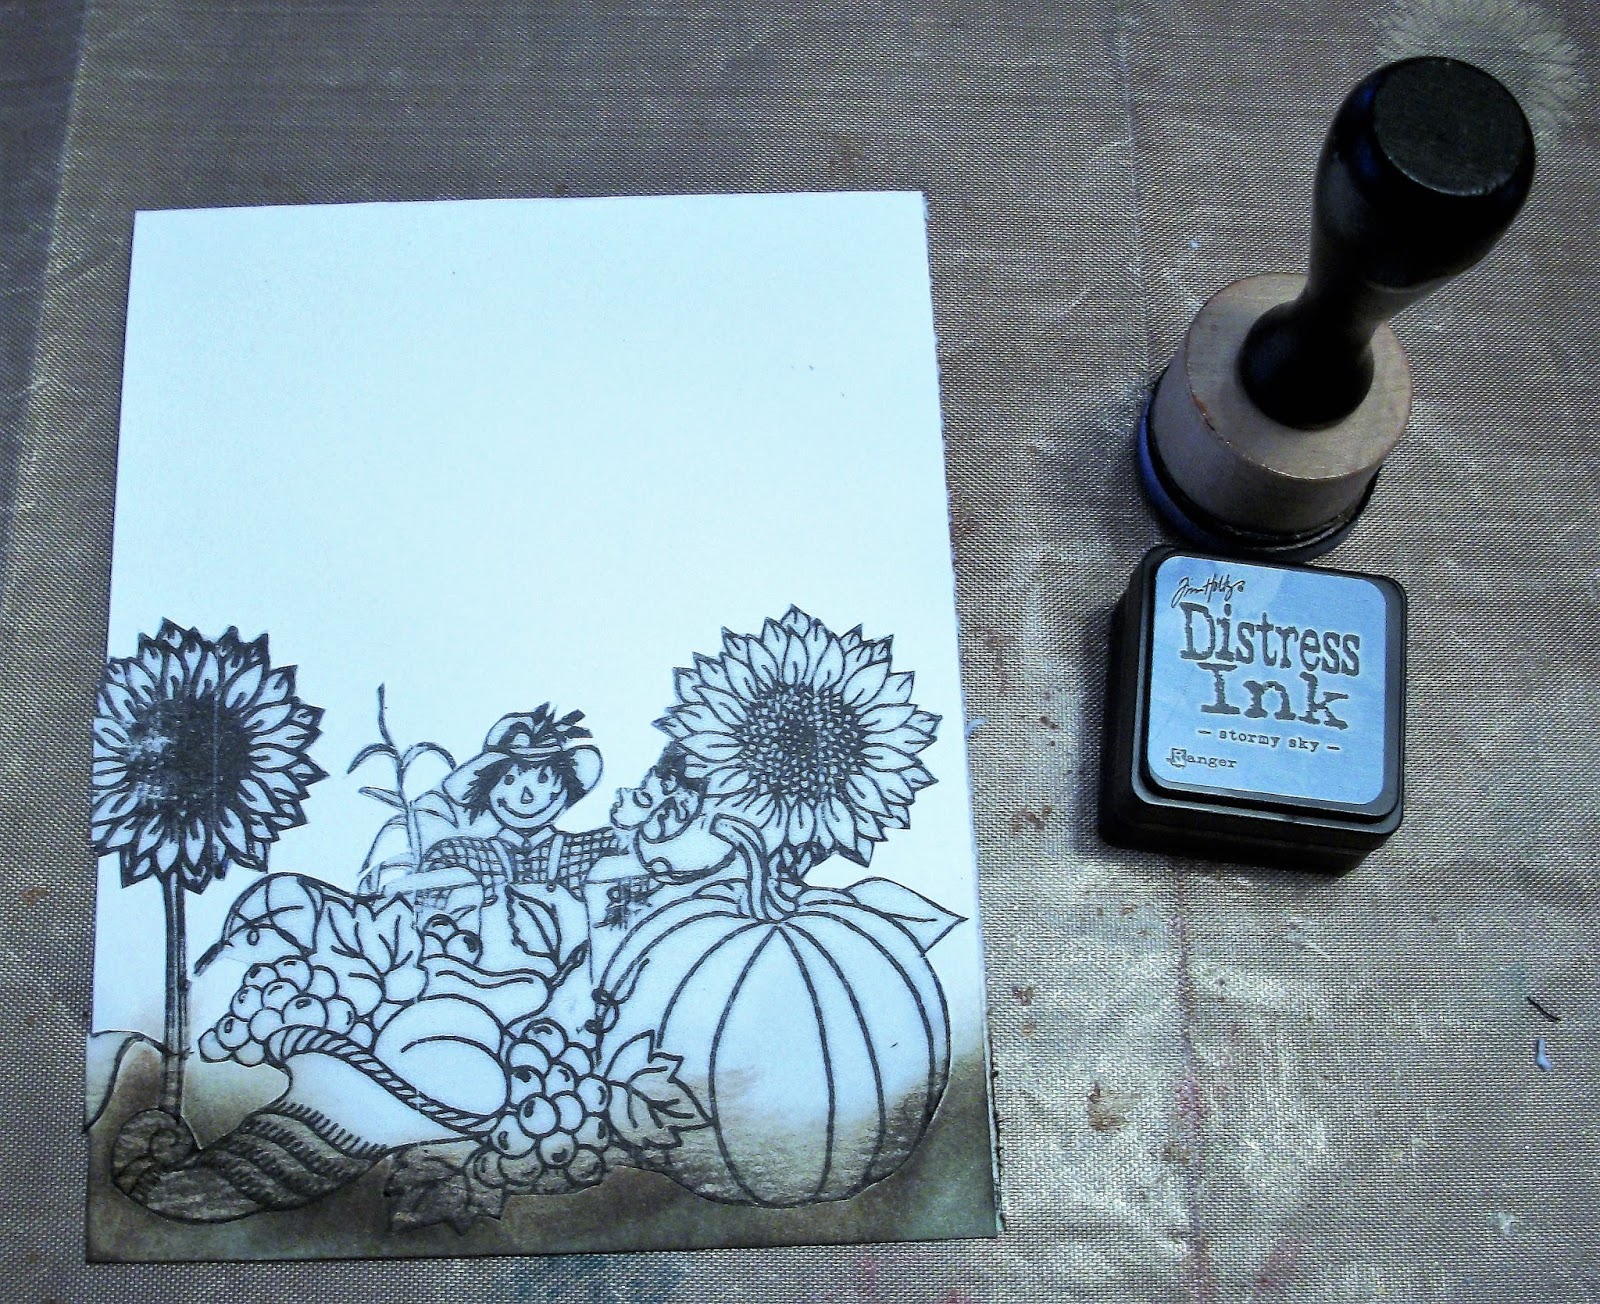
1. Take your vellum and stamp your images all over the desired area. Stamp the cornucopia and then stamp a mask and cut it out, Mask cornucopia and then stamp Pumpkin along with a mask and cut it out, Repeat with scarecrow and sunflowers.


2. Photo copy the vellum image above onto a piece of printer paper with masking paper on top. Fussy cut the image out with scissors.


3.  After cutting out the image place behind the vellum image aligned directly under the vellum image. Place the mask onto the white cardstock base. It should just stick to the cardstock underneath.


4.  Taking your sponge dauber and Ranger ink, sponge the ink around the mask on the white cardstock. I used blue for the sky and green for the bottom. Remove the mask on the white cardstock.


5. Cut down your vellum to the card size and  Attach the vellum image directly over the cardstock using double sided tape or Vellum tape at the top and bottom to hold the vellum to the card. 


6. Add a sentiment to the Vellum using Staz on ink, if desired and enjoy. You are now finished.


thank you for following along!

Monday, August 21, 2017

Project of the week-Cracked Glass Technique-

HI EVERYONE! Deonna here with a new Project of the week.  I want to show you how to make "Cracked Glass". So Gather your supplies and let's get started.


RI Stamps- Serengeti collection- 5411-0 African Post Collage (lg), 5306-J Chimp
Archival ink in Coffee
Decorative paper of choice
White Cardstock
Perfect Medium ink or versamark
Thick Embossing powder
Powder tray
Vintage Photo distress stain
Sponge
Heat Tool

1.  Take your Post collage stamp, Archival ink, decorative paper and stamp the image onto the decorative paper.  Trim the paper down to the desired size or die cut it out. I just cut mine to 5" x 3 1/4". 


2.  Gather your stamped image, versamark ink and thick embossing powder, heat safe mat, and powder tray.  With the stamped side of your decorative paper facing up. Turn your versamark pad facing down and apply all over the stamped image. After inking, over the top of your powder tray pour your thick embossing powder onto the ink just applied to the decorative paper. Heat set the embossing powder. You'll know that the powder is set once it all melts over the paper.  Repeat the process another 1-2 times until the powder is melted and looks thick and shiny. Allow to cool. 


3.  Bend the embossed paper all different directions to create cracks. Bend more for fine cracks, bend less for larger cracks. 


4.  Take your Vintage Photo Distress Stain and rub all over the top of the image. This should allow the stain to seep into the cracks and give an "Antiqued" look.  You can also sponge over the cracks to get more stain into them.  Take a Paper towel and remove the excess stain. Photo's 15-18
5.  I then decided to repeat the whole process with the chimp stamp. Now we have the final project to create a card with.  


Challenges

heARTful Stamping- ATG with a Stamp (1/2)
Stamping Sensations Aug. ATG (1/3)
Paperminutes #500 ATG
Tuesday Throwdown #356 ATG 
Crafting from the Heart #172 ATG (3/3)
Pammies inky pinkies #1734 ATG 1/3)
Crafty Creations #348 ATG (2/3)
Creative Moments #124 ATG/Funny (2/3)

Have a wonderful Week!