Saturday, June 29, 2019

Wax paper Emboss Resist Technique

This is a tutorial that I wrote years ago for Through the Craft Room Door and I thought that I could now share it.
Wax Paper Embossing Resist


Deonna Bemish
101
Supplies
Glossy White Cardstock-Cut in half to measure 8 1/2" x 4 1/4"
White Sheet of Printer paper
Embossing Folder-Chose a Cuttlebug-Fular by Anna Griffin
Wax Paper- Cut to the size of Embossing folder- Mine is 4 1/4" x 5 1/2"
Distress ink-Adirondack in Sailboat Blue
Sponge Dauber
Iron-preheated on Cotton Setting or Tulip Craft iron
Die Cut Machine
Paper Towel
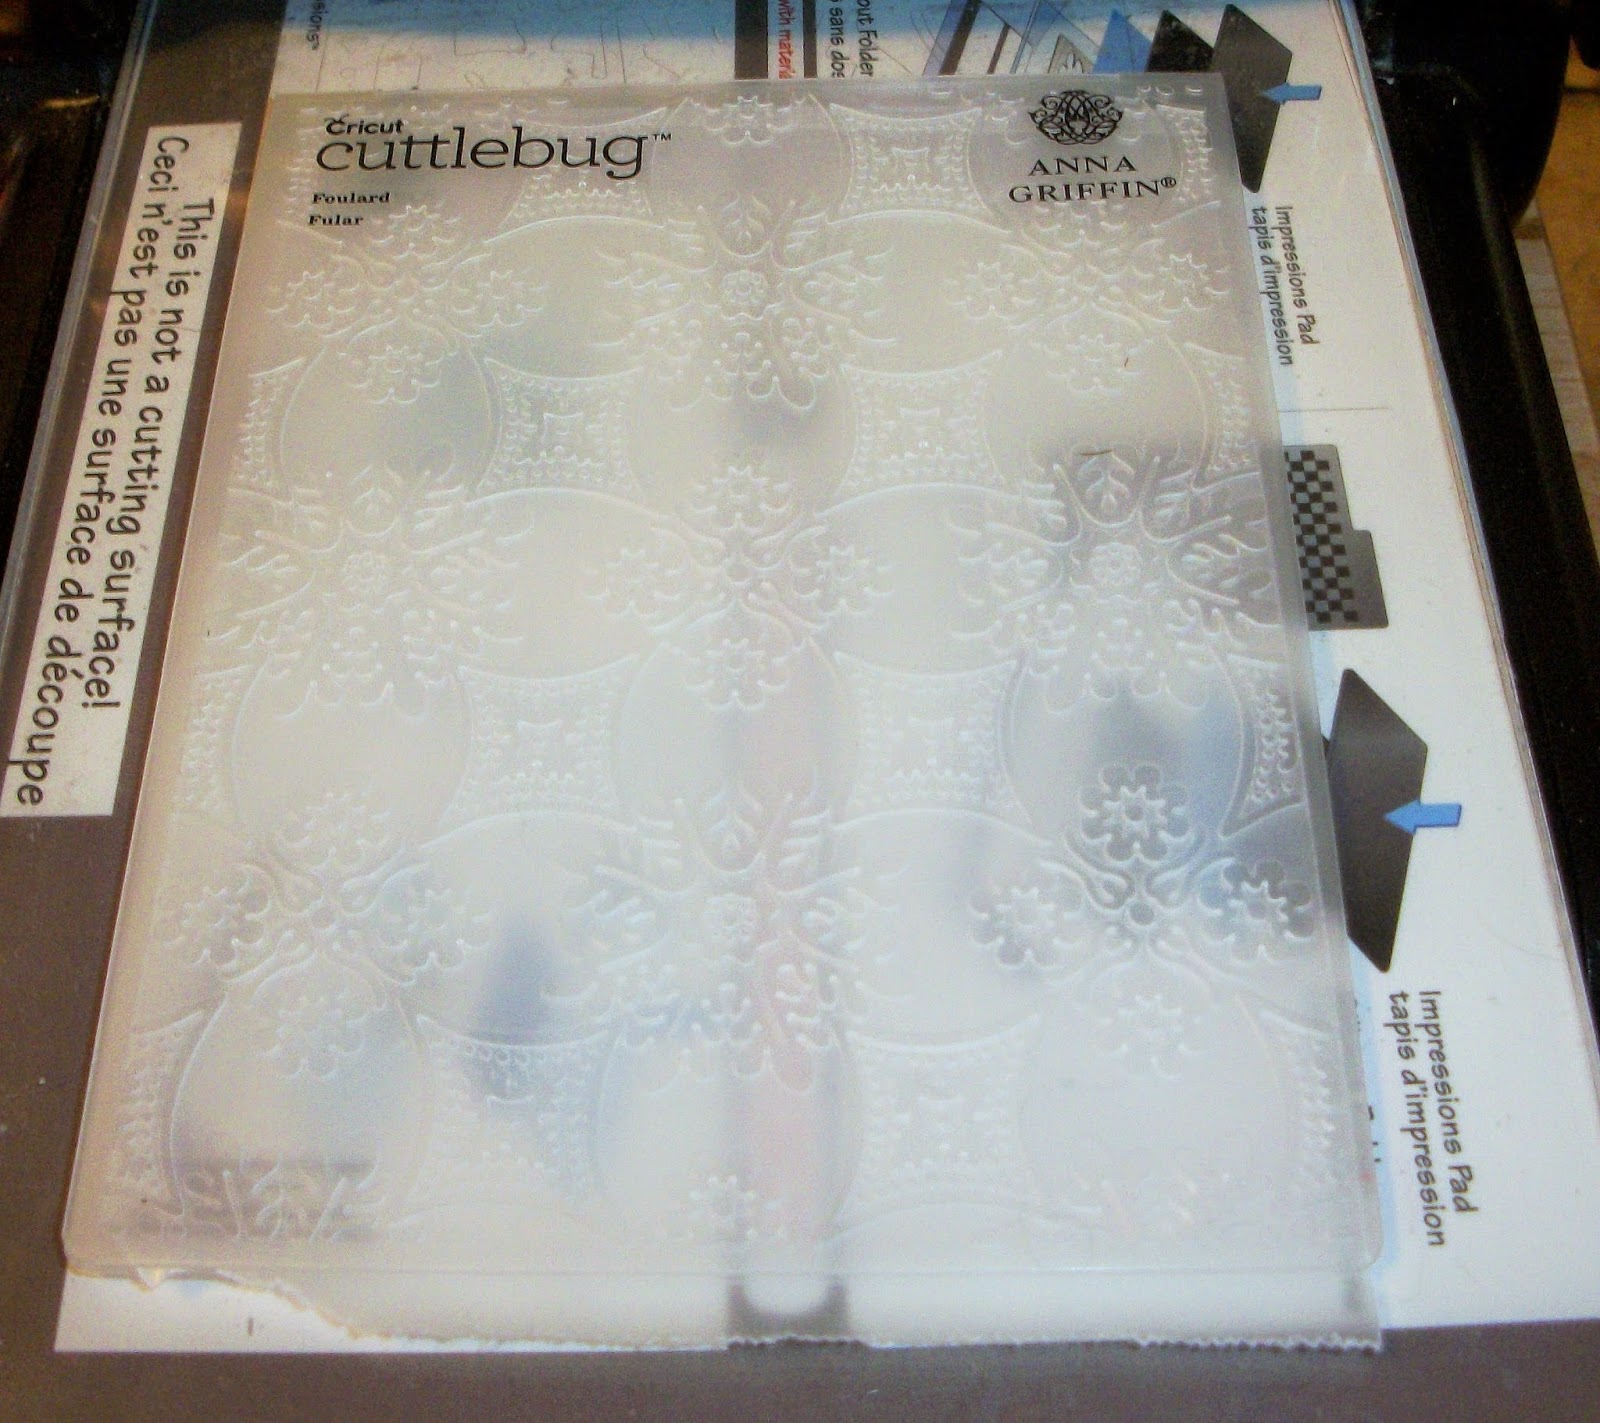
1. Taking your embossing folder, add your wax paper between the layers and run through your die-cut machine embossing the wax paper and set aside.



2. Take your Glossy White Cardstock in 8 1/2" x 4 1/4" fold in half with the glossy sides facing each other.

3. Place your embossed wax paper inside your glossy white cardstock that you just folded.
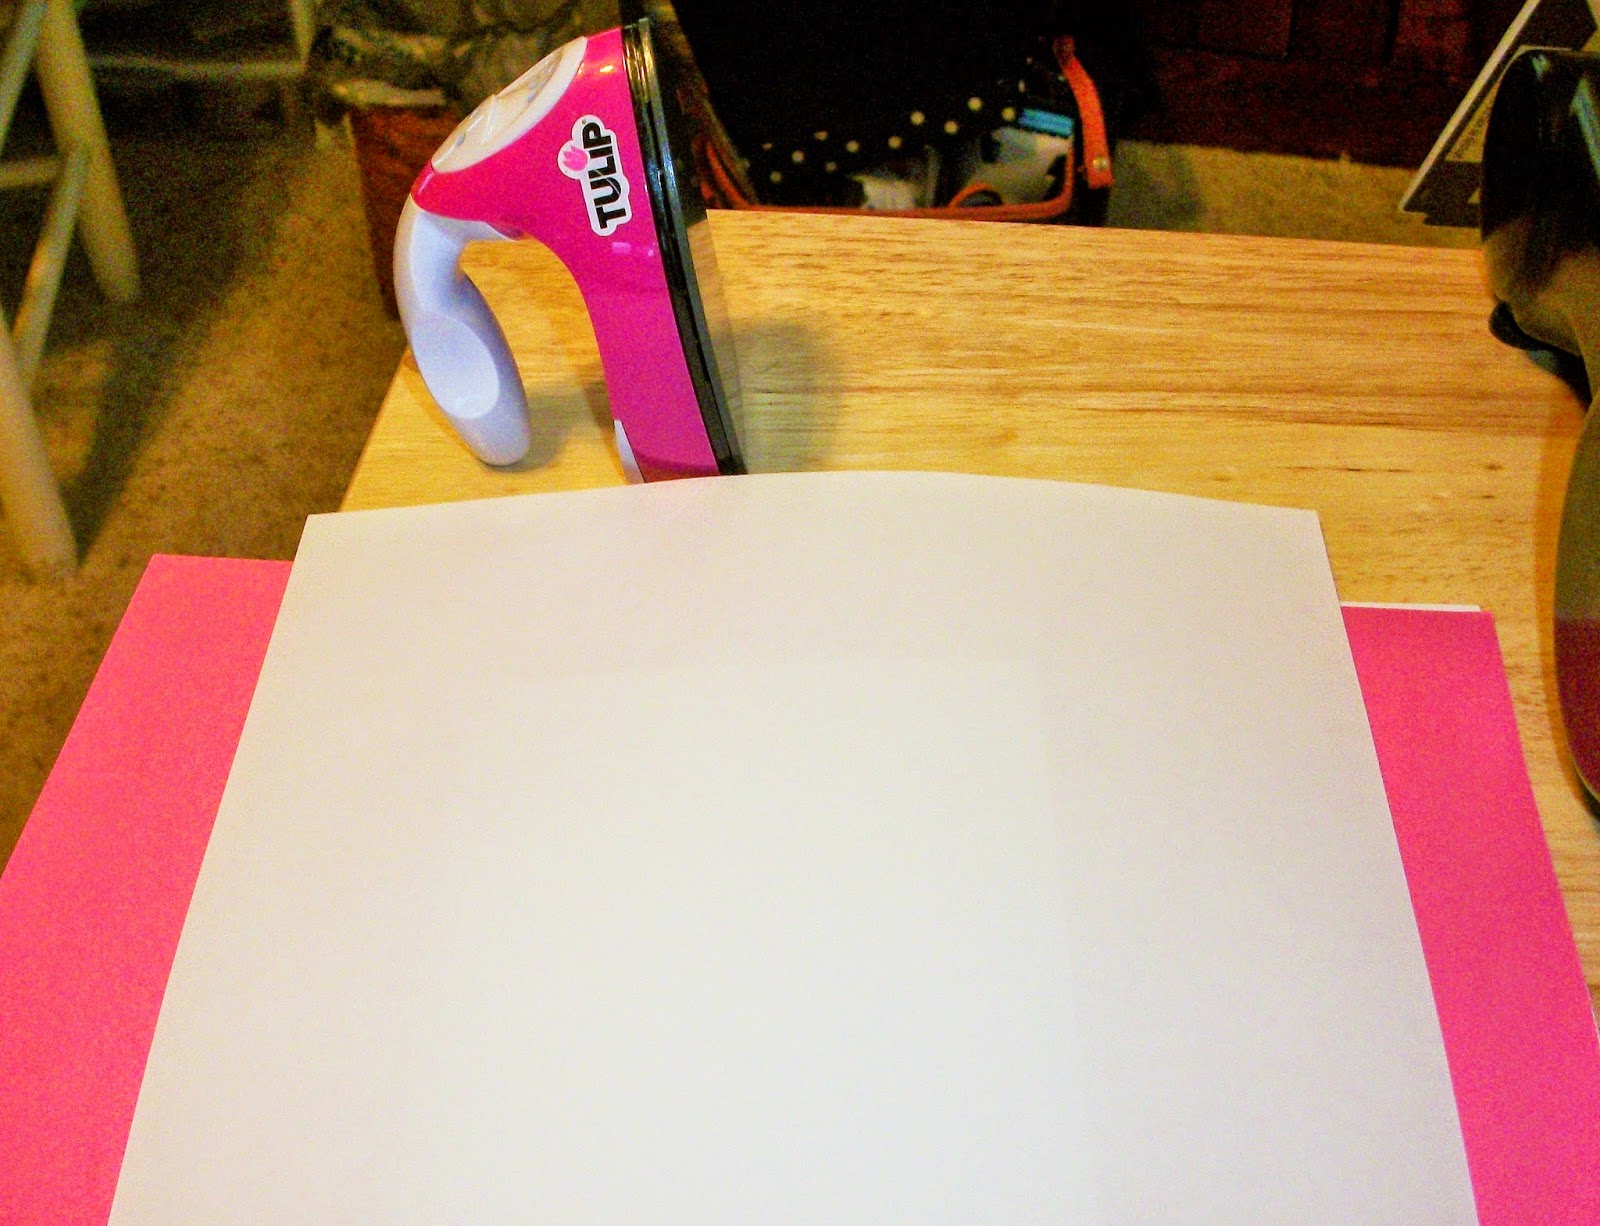
4. Lay your piece of white printer paper of piece of paper towel over the top of your stack.
5. With your iron, run over the top of the printer paper melting the wax onto the glossy Cardstock print. You may want to go over it a few times to make sure that your wax has melted onto the Glossy cardstock.


6. Open your folded cardstock and remove the waxed paper. You may discard it now.
7. Get your sponge dauber and your ink pad and in a circular motion place the ink all over the glossy cardstock with the dauber. You should be able to see where the wax resists the ink. Once you have it the color that you want it, you may then take a piece of paper towel to rub off the excess ink.


8. You now have the positive and the negative print of the embossing folder to work with. Create your Card!


Inked embossing folder card base

This is a tutorial that I wrote about a year ago or so. I thought that I'd post it on my blog so maybe others can get some inspiration from it.

Inked Embossing Folder Card Base


Supplies needed:
Sizzix Big Shot or die cut machine
Speedball brayer
Embossing folder- i used a 
Distress ink in color desired
Cardstock in 4 1/4" x 5 1/2" 


1.  Take your Brayer and distress ink. Roll your brayer over the top of the ink pad to cover the brayer. 


2.  Then, Roll the inked brayer over the raised or flat area of your open embossing folder directly to the plastic until it is covered to your liking.****If you put the ink on the raised side of the embossing folder the color will be debossed. If you put the ink on the flat side the colored area will be embossed.  


3.  Carefully lay your cut piece of cardstock over the top of your inked embossing folder and close. 

4.  Run through your Big Shot or die cut machine according to the instructions on embossing with your particular machine. 

5. Remove your cardstock from the embossing folder and you have your base for your card.  Photo's 
Flat side of embossing folder with ink

Raised side ink on left
flat side ink on right

Flat side rolled with ink


Tuesday, May 28, 2019

I gave this junk journal away as a door prize

I'm happy to announce that my son has graduated from high school. This past Saturday was the ceremony and his party was Sunday afternoon.   I can now finally breathe! As a added bonus to my day, I gave away this junk journal that I had made. I love to make these!


Challenge

Inky Mess 31 ATG Altered (1/3)
A2Z Scrapbooking May ATG
A Bit more time to craft 92 ATG
Altered Eclectics May ATG
Bleeding Art May ATG
Crafts Galore Encore 63 ATG
DL Art May ATG
Love to Craft 34 May ATG
Mini Album Makers May ATG
Not just Cards May ATG
TTCRD AT(1/2)

Have a great week!

Saturday, May 18, 2019

I have a project share today, finally.

I'm sorry to have been missing so long but i got new carpet all over the upstairs having to juggle all of the "Stuff" has been a nightmare. I'm also trying to get things ready for my Sons graduation party in May. I've not had much "Crafting time" lately.
Today i was inspired by a youtube lady named sewcarol. She made these awesome Cigarette card tags. I bought the cigarette card file from her etsy store because i've been working on 4 floral themed books right now. lol


Challenges

Crafting by designs May ATG (1/3)
Crafty Gals Corner 191 May Flowers (1/2)
Creative Moments 168 ATG (1/3)
Word Art Wednesday 386 387 ATG (1/5)
Crafting from the Heart 243 ATG (1/3)
Craft your Passion 342 ATG (1/3)
Love to scrap 121 ATG (1/3)
Not just Cards May ATG
Crafter's Cafe 219 Tags (1/3)
Crafts Galore Encore 63 May ATG (1/3)

Later!

Saturday, April 13, 2019

Decorative Napkin Embellishments tutorial

Using a Decorative Napkin for a  Background or Embellishment? Here is a technique to help you cut the napkin in usable pieces without ripping it.

Supplies
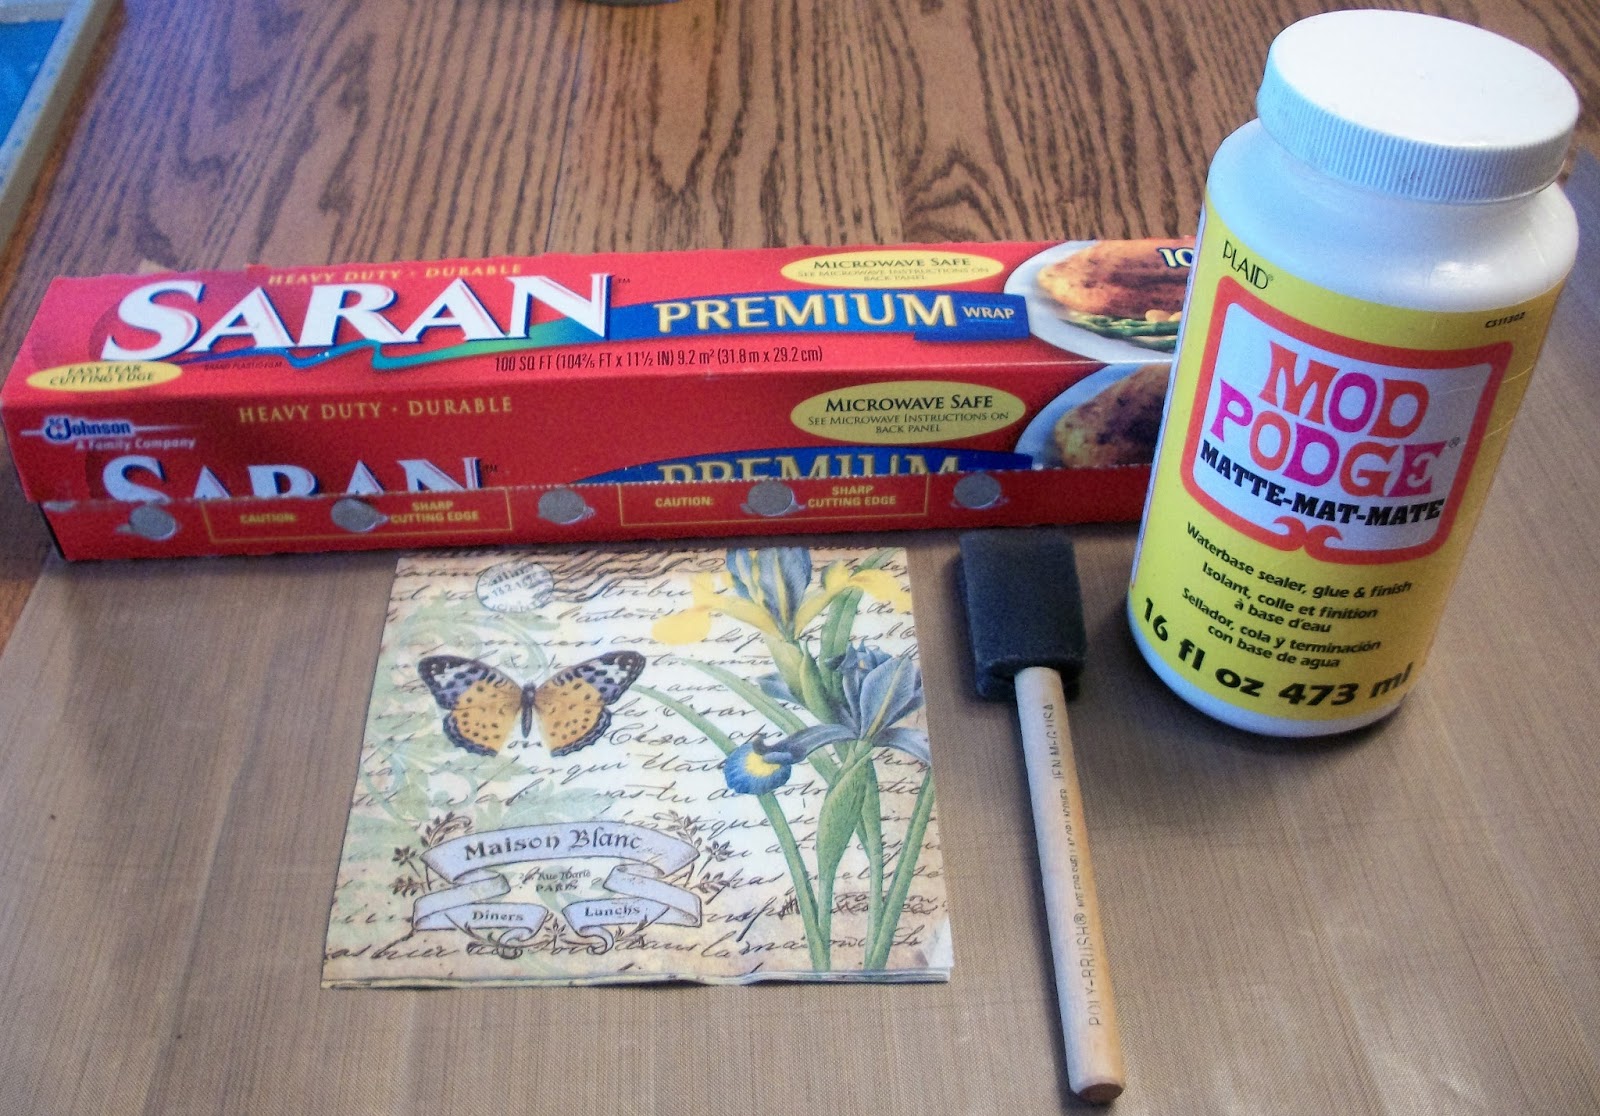
Decorative napkin- I found at the Dollar Tree, Matte Mod Podge, Sponge Brush and Saran Wrap


1.  Begin by separating the layers of your napkin.  I've found that generally is one layer but sometimes there are two.

2.  Lay out a piece of Saran Wrap large enough that the napkin will fit on top.

3.  Using your Sponge Brush, apply Mod Podge all over the surface of the Saran wrap. Make sure to cover enough space so the entire napkin has Mod Podge under it when you lay it down.


4.  Place the Napkin on top of the layer of mod podge. Try to lay as flat as possible.

5.  Take your Sponge brush and then apply another layer of mod podge all over the top of the napkin. **** You may have to daub the Mod Podge on instead of brushing it to keep the napkin from tearing.


6.  Allow to completely air dry overnight.

7.  Once the napkin is completely dry peel it off of the Saran Wrap Carefully. It is now ready to use.  You can cut it in pieces to use as the background for a card or Cut individual elements out to use as embellishments.


8. Your Napkin ends up more translucent and sturdy making it easier to Cut and use.


Complete your project